Trim Audio Clips in Audacity 4
At a glance
Trim audio clips in Audacity 4 by dragging top-edge handles for a non-destructive edit. Always save the project before making changes, verify transitions by listening, and export your trimmed result as a new file. The lower handles stretch speed but don’t trim. Keep the source intact and refine with additional fades or gain as needed.
In this guide
In Audacity 4, trimming audio clips is a straightforward, non-destructive process that safeguards your original files while letting you edit with precision. The software distinguishes between trimming (adjusting the visible length of a clip) and stretching (altering the playback speed). Understanding these tools allows you to fine-tune clips for podcasts, music, or voice recordings without compromising your source material.
Trim vs stretch: understanding clip handles
Each audio clip in Audacity 4 features two pairs of handles at its edges:
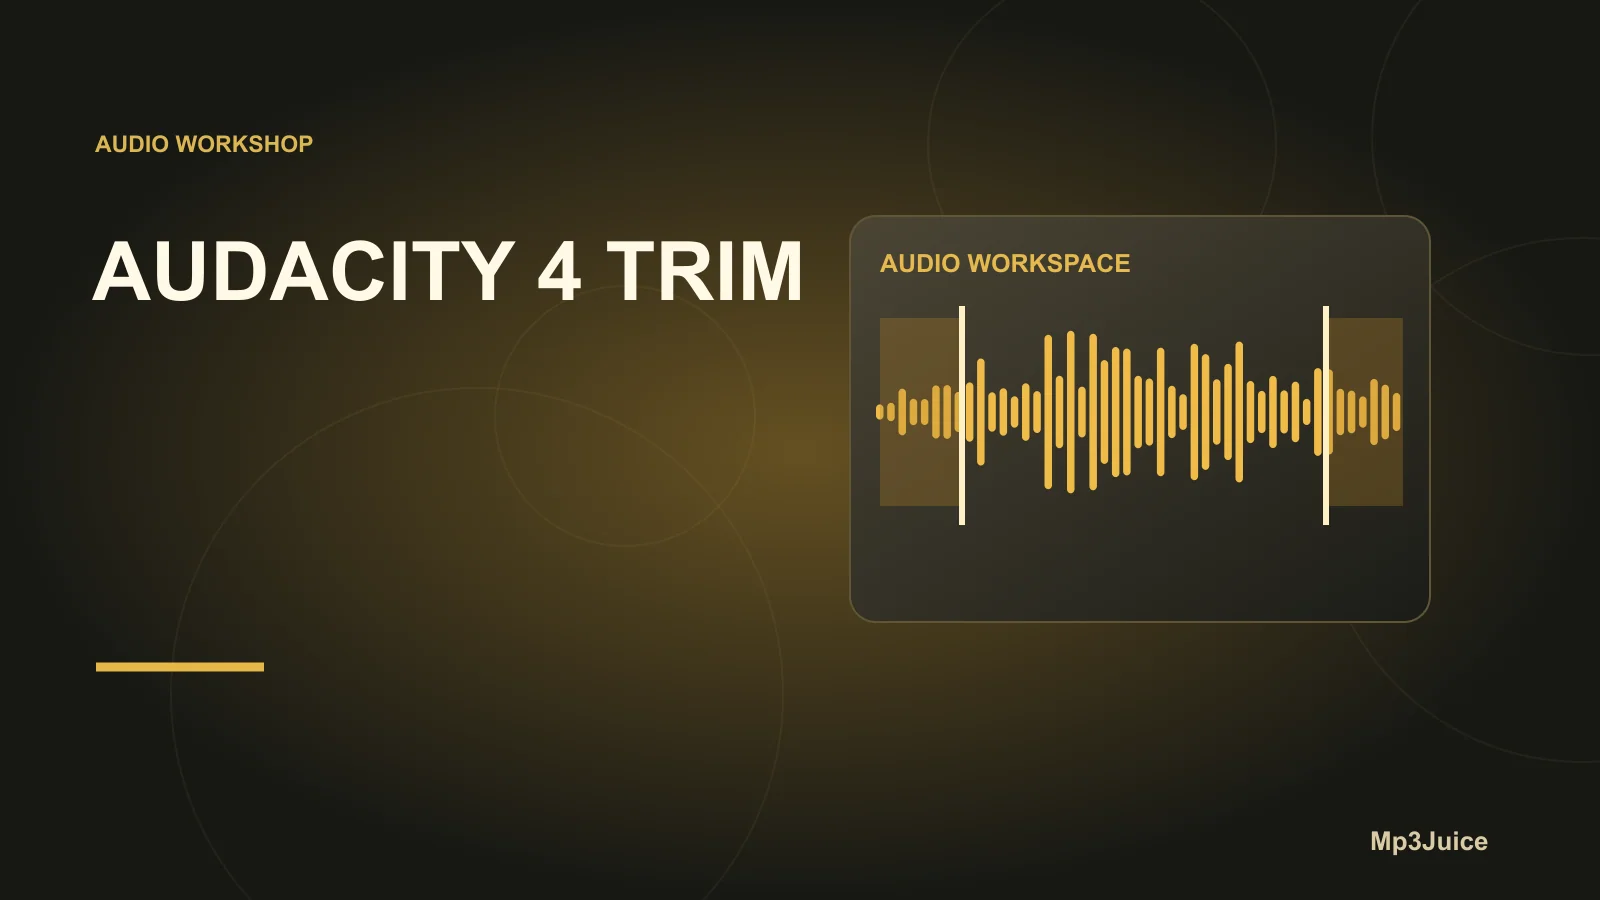
- Top handles (trim): Hovering here changes the cursor to indicate trimming is possible. Dragging either the top left or top right handle inward shortens the clip’s visible duration. This hides audio beyond the trimmed edge but does not delete it. If needed, you can later extend the edge out again to restore the hidden material, making the process non-destructive.
- Lower handles (stretch): Marked with a clock icon, these let you change the clip’s speed. Dragging a lower handle stretches (slowing down) or squeezes (speeding up) the clip; an on-clip badge displays the current speed percentage. Clicking the badge lets you set an exact playback speed value.
To adjust pitch—either independently or along with speed—access the clip menu’s Pitch and Speed dialog. The Optimize for voice option helps preserve the character of spoken or sung vocals during these transformations.
Preparing your project and backing up
Before making any edits, always save your Audacity 4 project. The Project > Save Project command ensures that the original audio and entire project history remain intact. If you plan to experiment or export a batch of edits, it’s best to work on a copy. Export a short section as a WAV or make a duplicate project to confirm the impact of your edits. This approach makes it easier to revert or recover previous states if necessary.
Step-by-step trimming in Audacity 4
- Open your project in Audacity 4. Make sure all relevant tracks are visible.
- Zoom in to the area you plan to edit. Use toolbar controls or keyboard shortcuts—Ctrl+1 and Ctrl+3 on Windows (Cmd+1 and Cmd+3 on macOS)—to precisely position the clip’s edges.
- Position the cursor over a clip's top left or top right handle. When it changes to the trim cursor, click and drag inward to trim excess audio. The change is immediately reflected visually on the timeline.
- Listen to the transition. Play audio that crosses the trimmed point using the spacebar. This checks for any clicks or abrupt transitions.
- Use “Trim Clip” for focus. If you want to focus on a specific region, select it and use the clip’s menu command Trim Clip. This hides the unselected areas from view (while retaining data outside the new boundaries).
Stretch and speed considerations
Trimming and stretching are distinctly different in Audacity 4:
- Dragging lower handles (clock icon) changes playback speed, not clip length — watch for the percentage badge. Set exact values by clicking the badge.
- Pitch changes are made only through the clip menu, using the Pitch and Speed dialog. This allows you to precisely control pitch shifting in semitones or cents, and retain vocal naturalness when editing voice content.
Listening and verifying trimmed boundaries
- Preview changes. Always play several seconds before and after the trim to listen for artifacts such as clicks or mismatched ambiance.
- Apply small crossfades if needed. Where two clips join, create a slight (e.g., 50–100 ms) overlap and add a quick Fade Out to the end of the first clip and Fade In to the start of the next. Use Track > Mix and Render for blending and refine volume with clip gain adjustments.
- Check at intended export settings. Preview your trimmed region at the project’s sample rate and also play it back after exporting to be certain transitions remain seamless in the final audio.
Exporting and saving an edited copy
Once satisfied with edits, preserve your progress:
- Save the Audacity project (Project > Save Project) to retain your editing history.
- Export a finalized audio file using File > Export > Export as WAV or File > Export > Export as MP3. Exporting generates a new file without affecting your working Audacity project. Original audio within the project remains available for further edits.
If you are working with multiple versions and want to check for identical audio content, refer to the guide to comparing music file copies with SHA-256.
Example: editing a podcast segment
Imagine a 10-minute interview recording with a long pause at 4:18. Identify this region by zooming in, then use the top handles on adjacent clips to trim out a 12-second gap. After trimming, playback across the join. If the result feels abrupt, create a brief (50–100 ms) overlap and apply Fade Out to the first clip and Fade In to the next. Save both your Audacity project and an exported WAV for review, ensuring you always keep the source unchanged.
Related guides and next steps
- Need to split clips instead of trimming? Visit Split a Song Clip in Audacity 4.
- For more level control and smooth transitions, see Fade Music with Clip Gain in Audacity 4.
To start: open your Audacity 4 project, save a backup (Project > Save Project As...), then try trimming a small section and listen to the edits before applying similar changes to the entire project.