Split a Song Clip in Audacity 4
At a glance
Audacity 4 enables precise splitting of audio at the playhead or selection edges, creating independent clips for editing. This article details shortcut-based and tool-based splits, explains the difference between in-project clips and exported files, and provides guidance on safe editing practices. Step-by-step examples and links to related editing topics ensure practical, accurate understanding.
In this guide
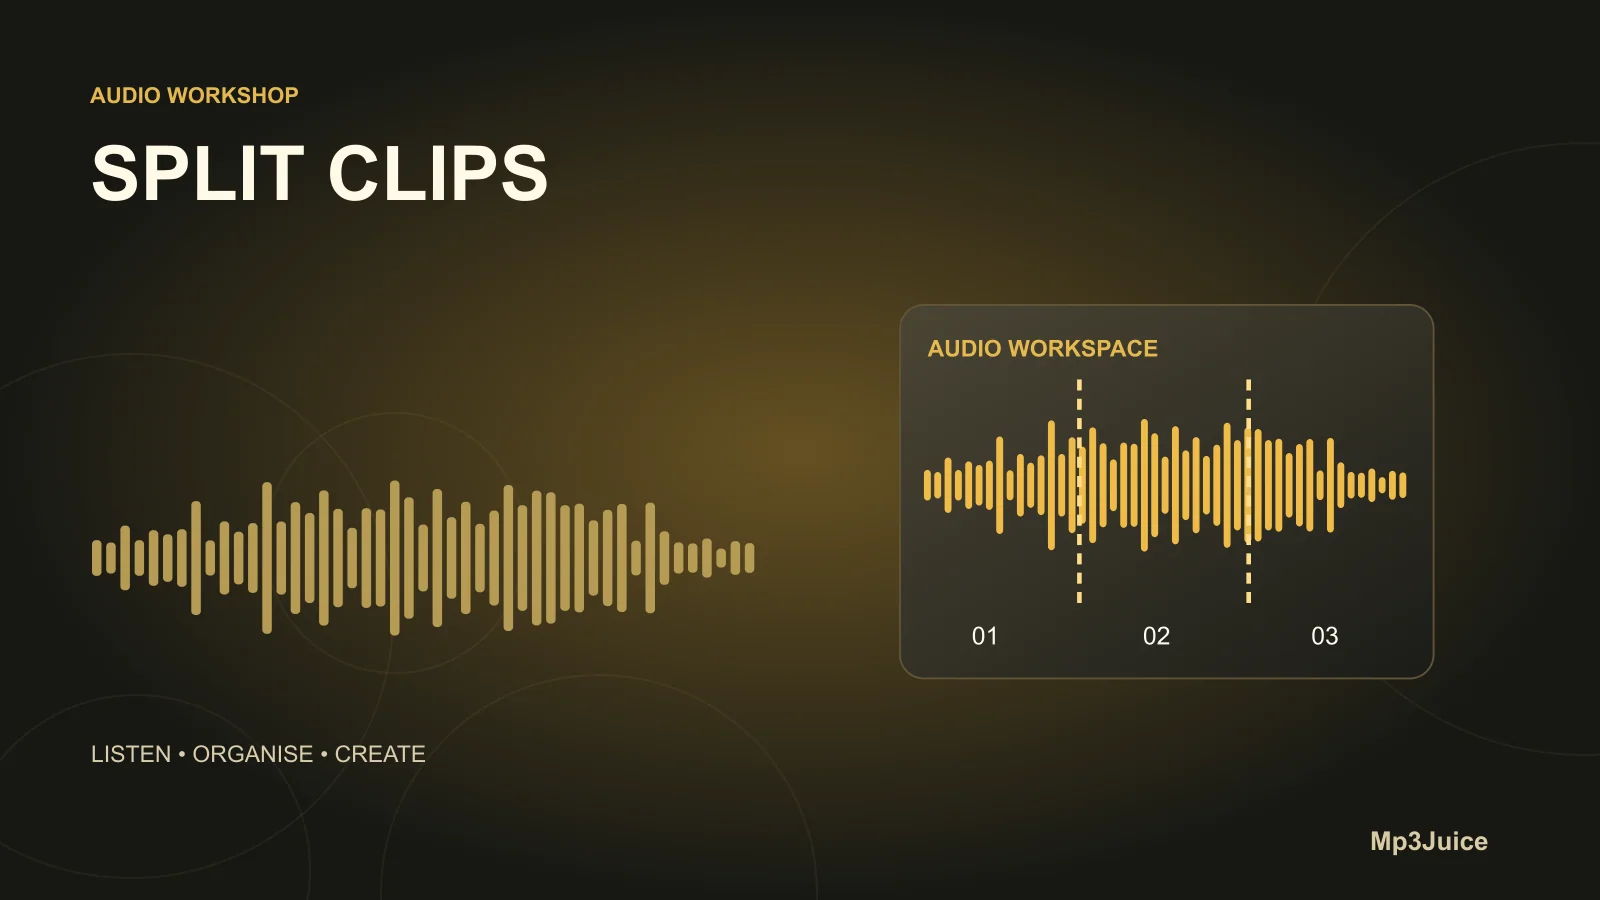
Audacity 4 allows you to split an audio track in two different ways—either at a single playhead position or at the boundaries of a time selection—creating separate clips for detailed, independent editing. These split clips remain inside the project and can be freely rearranged or modified, but they are not exported as separate audio files unless you select the appropriate export option. Understanding how to leverage Audacity 4’s split capabilities is key for efficient, flexible music editing.
The keyboard shortcuts below refer to Windows. On other platforms, use the equivalent command shown in Audacity’s menu or shortcut settings.
Tools and shortcuts
Audacity 4 features both a dedicated Split tool and a keyboard shortcut for making precise cuts. The Split tool can be accessed from the Tools toolbar by clicking the Scissors icon, or by pressing S to toggle it on and off. This tool displays a vertical guideline that follows your mouse cursor, showing exactly where the cut will be placed. Alternatively, you can press Ctrl+I at any time to split at the playhead or to split both ends of a time selection with a single keypress.
Split at the playhead — step-by-step
- Open your Audacity 4 project and move the playhead (edit cursor) to the desired split location.
- Click on the track to set the focus, then do one of the following:
- Press S to activate the Split tool and click at the chosen position. The selected segment will be split at that exact point, with a new clip created on either side.
- If you prefer the keyboard, simply press
Ctrl+I. This will immediately split the clip at the playhead without needing to interact with the mouse.
- After the split, Audacity will select the portion to the left of the cut, making it convenient to delete, move, or further edit. Both resulting segments are now independent clips and can be manipulated individually.
Split a time selection into its own clip
- Use the selection tool to drag across the timeline and highlight the audio you wish to isolate.
- Press
Ctrl+I. Audacity automatically splits at both the start and end of the time selection, turning the selected segment into a standalone clip with a single action. - If using the Split tool, activate it with S and click at the start and end boundaries of your selection. The chosen section will be isolated as its own clip after the second click.
Working with the created clips
- Each time you split, a new, independent clip is created. Click and drag these clips to reposition them anywhere along the track timeline.
- You can edit each clip separately—trimming, deleting, or applying effects—without affecting adjacent clips. This is useful for tasks like rearranging segments, applying fades, or isolating phrases for special processing.
- For experimental or bulk edits, consider duplicating the track or making a small copy of the project first. This lets you test edits in a non-destructive way before working on your main arrangement.
Verify what splitting does—and doesn’t—do
Splitting changes the internal arrangement of your audio within the Audacity project. It does not, by itself, create new audio files on your computer. All clips remain parts of the parent track until you choose how to export them. If you export the entire track, all the clips are included in the resulting file according to your current arrangement. To generate individual files for each clip, use export options such as Export Selected Audio or Export Multiple. Always review your export settings by testing with a small segment before running large or final exports.
Example: isolating a vocal phrase
Suppose you are editing a 3-minute song and want to separate a vocal phrase that spans from 1:12 to 1:20. Here’s how:
- Place the playhead at 1:12 and press
Ctrl+Ito split the track at this time point. - Move to 1:20 and press
Ctrl+Iagain to make a second split. Alternatively, select the time range from 1:12 to 1:20 and pressCtrl+Ito isolate the segment with a single command. - The phrase is now a separate clip, ready for further editing—such as deleting, moving, or applying a fade effect—without affecting the rest of the track.
- If you want to export only this isolated phrase, be sure to use Export Selected Audio. Deleting the clip inside Audacity removes it from playback, but does not automatically create a new audio file for it.
Verification and small-copy checks
For quality control or when preparing for batch edits, make a duplicate of your track or project and perform splits and edits on the copy, not the original. To duplicate a track, utilize the track drop-down menu and select “Duplicate.” After making your splits and edits, audition the playback to ensure your transitions are smooth and the clip boundaries are correct.
For more targeted edits or additional understanding, consult related guides: Trim Audio Clips in Audacity 4 and Export Selected Audio in Audacity 4.