Compare Music File Copies with SHA-256
At a glance
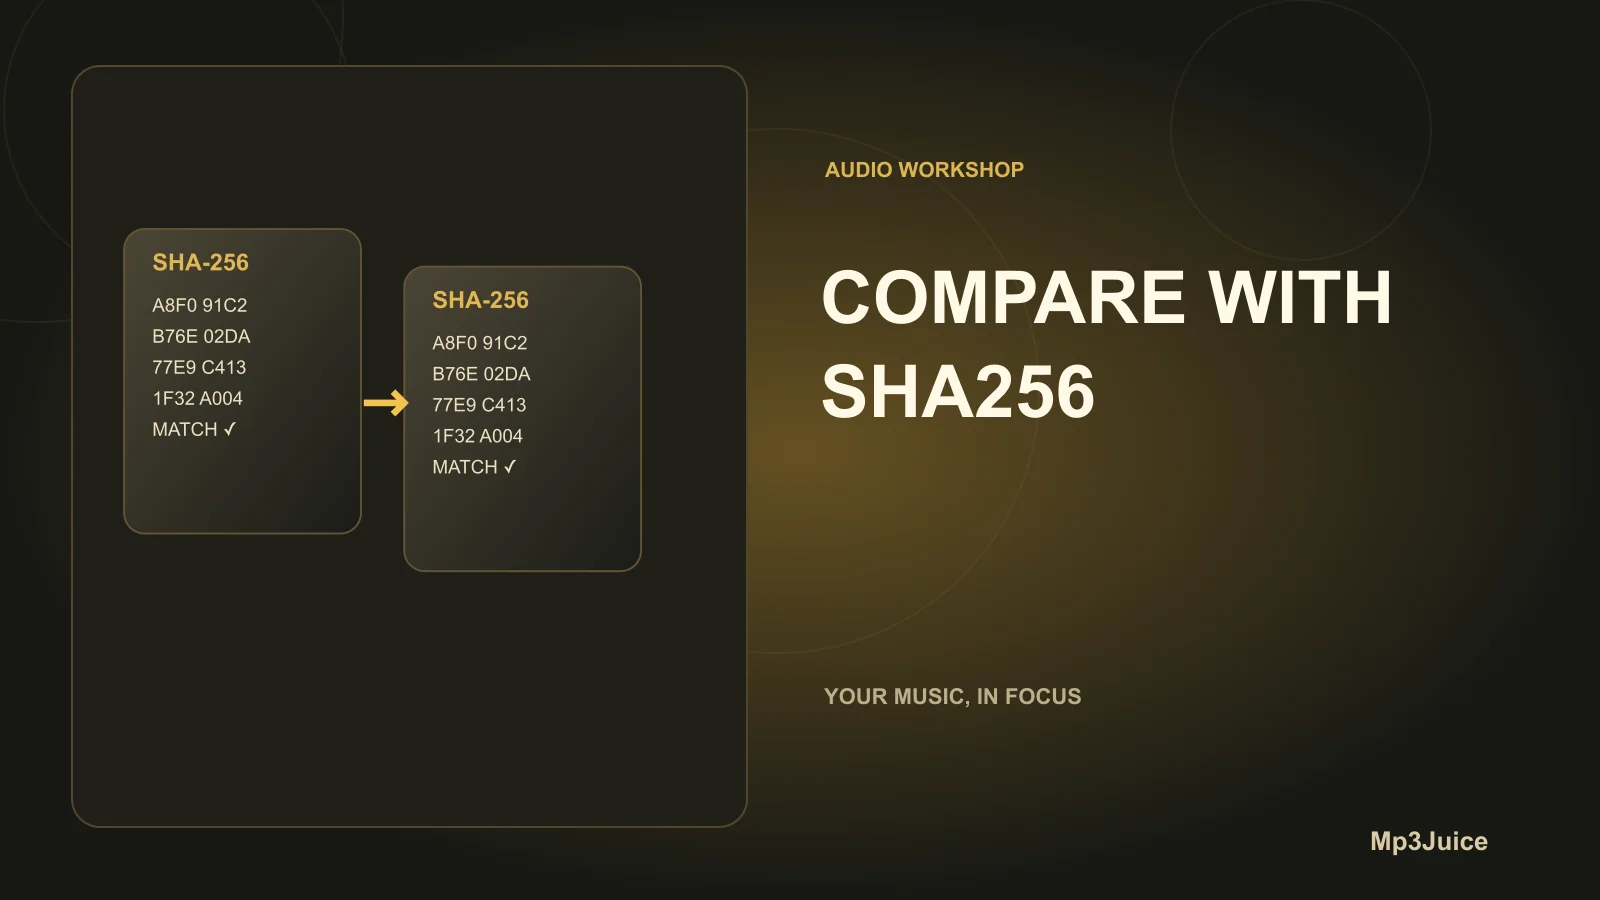
Verify if two music files are identical by computing and comparing SHA‑256 hashes with PowerShell’s Get-FileHash cmdlet. A matching hash ensures exact byte-for-byte parity, including metadata. This method verifies data integrity but does not confirm legal status or musical similarity beyond binary level. Supported for batch file comparison and CSV output.
In this guide
Comparing two copies of a music file to verify that they are truly identical at the byte level is best accomplished using a cryptographic hash, specifically SHA‑256, with PowerShell’s Get-FileHash cmdlet. By comparing the resulting hash strings, you can determine if the files are exact copies, regardless of their names or locations. This approach is suitable for confirming bit‑level fidelity after transfers or backups, but it does not provide proof of licensing, musical sameness beyond binary level, or guarantee metadata equivalence.
What Get-FileHash does
The Get-FileHash cmdlet calculates a cryptographic hash from a file’s entire byte sequence using an algorithm such as SHA‑256. By default, SHA‑256 is used on supported Windows and other modern PowerShell platforms. The command produces an object listing the hash algorithm, the computed hash string, and the provided file path. The -LiteralPath parameter directs PowerShell to use the exact provided file path, without wildcard character parsing, while -Path allows for wildcards. Supported algorithms also include SHA1, SHA384, SHA512, and MD5, though SHA‑256 is recommended for integrity checking in modern workflows.
When to use SHA‑256 and -LiteralPath
SHA‑256 is a modern, well-supported choice for file integrity comparisons where security and uniqueness matter. It is preferred over older hashes like MD5 or SHA1, which are no longer considered robust. Using -LiteralPath is necessary when file names contain characters that PowerShell interprets as potential wildcards (such as brackets or asterisks), or when you want literal, unambiguous path handling. If -Algorithm is omitted, Get-FileHash will default to SHA‑256.
Step-by-step: compare two copies
- Open PowerShell. Launch a PowerShell window on the system with both files accessible. PowerShell 7.5 and later are referenced here.
- Test with a single file first. Copy a sample file to a test directory to verify your workflow before handling bulk files.
- Compute and examine the hashes. Replace paths with your actual file locations and wrap paths containing spaces or special symbols in quotes:
Each execution yields output with theGet-FileHash -LiteralPath 'C:\Music\folderA\song.mp3' -Algorithm SHA256 Get-FileHash -LiteralPath 'D:\Backup\song.mp3' -Algorithm SHA256Algorithmused, aHashvalue, and the file’sPath. - Compare programmatically (True/False):
A$h1 = (Get-FileHash -LiteralPath 'C:\Music\folderA\song.mp3' -Algorithm SHA256).Hash $h2 = (Get-FileHash -LiteralPath 'D:\Backup\song.mp3' -Algorithm SHA256).Hash $h1 -eq $h2Trueresult means the two files are identical at the binary level;Falsemeans a difference exists somewhere. - Handling multiple files: For directory-wide comparison, create CSV inventories of hashes for later join/compare operations:
Generate a corresponding list for each folder and compare filenames and hashes using spreadsheet tools or custom scripting as needed.Get-ChildItem -LiteralPath 'C:\Music\folderA' -File | ForEach-Object { [PSCustomObject]@{ Path = $_.FullName Hash = (Get-FileHash -LiteralPath $_.FullName -Algorithm SHA256).Hash } } | Export-Csv -Path 'C:\temp\hashes_folderA.csv' -NoTypeInformation
What identical and different hashes mean
- Identical SHA‑256 hashes: The files match byte-for-byte. This includes not just audio frames but also all metadata and container information present in the file as hashed.
- Different SHA‑256 hashes: Any single differing byte will change the hash. Typical causes for non-matching hashes in music files include edited or differing metadata (such as ID3 tags), differing encoder settings, added or removed audio, or structural/container header changes.
- Essential caveat: Hash comparison judges strict binary data—it does not address legal provenance, musical similarity at an audio-listening level, or the authority of the source file.
Verification and practical tips
- Start with a single file to avoid confusion or data loss. Check your intended file paths and PowerShell syntax by running the shown commands on one file.
- If you expect metadata (e.g., ID3 tags) to differ between copies, and only wish to compare audio, you’ll need to extract and hash only the raw audio frames or re-encode for direct byte sequence parity. Otherwise, any differing tag field—even a change in embedded cover art—will produce a new hash.
- When processing many files, include the
Pathwith each hash to correctly associate each result and prevent confusion. - Keep source files read-only while verifying. Only carry out any edits or deletions on verified copies to protect your originals during the comparison process.
Example: realistic fictional scenario
Suppose Acme Records wishes to confirm that the master MP3 at C:\Masters\band-song.mp3 is an exact replica of a copy stored at E:\Transfer\band-song.mp3 following a transfer. An administrator can compare these files by running:
$master = (Get-FileHash -LiteralPath 'C:\Masters\band-song.mp3' -Algorithm SHA256).Hash
$copy   = (Get-FileHash -LiteralPath 'E:\Transfer\band-song.mp3' -Algorithm SHA256).Hash
$master -eq $copy
A result of True confirms a perfect, byte-for-byte copy. A result of False prompts further inspection—typically by checking file metadata, audio duration, or both—to distinguish between benign tag updates and meaningful content changes.
For advanced inspection of audio and metadata before or after hash comparison, see our guide on Inspect Audio Streams with ffprobe. If you later need to edit or trim clips, refer to Trim Audio Clips in Audacity 4.