Export Labeled Songs as Separate Files in Audacity 3
At a glance
Break long tracks into labeled songs for individual export in Audacity 3. Use label tracks to mark each section, export using ‘Export Audio’ with ‘Labels’, and customize file names and numbering. Verify that exported files match your intended splits. Includes practical checks and troubleshooting for the official Audacity 3 workflow.
In this guide
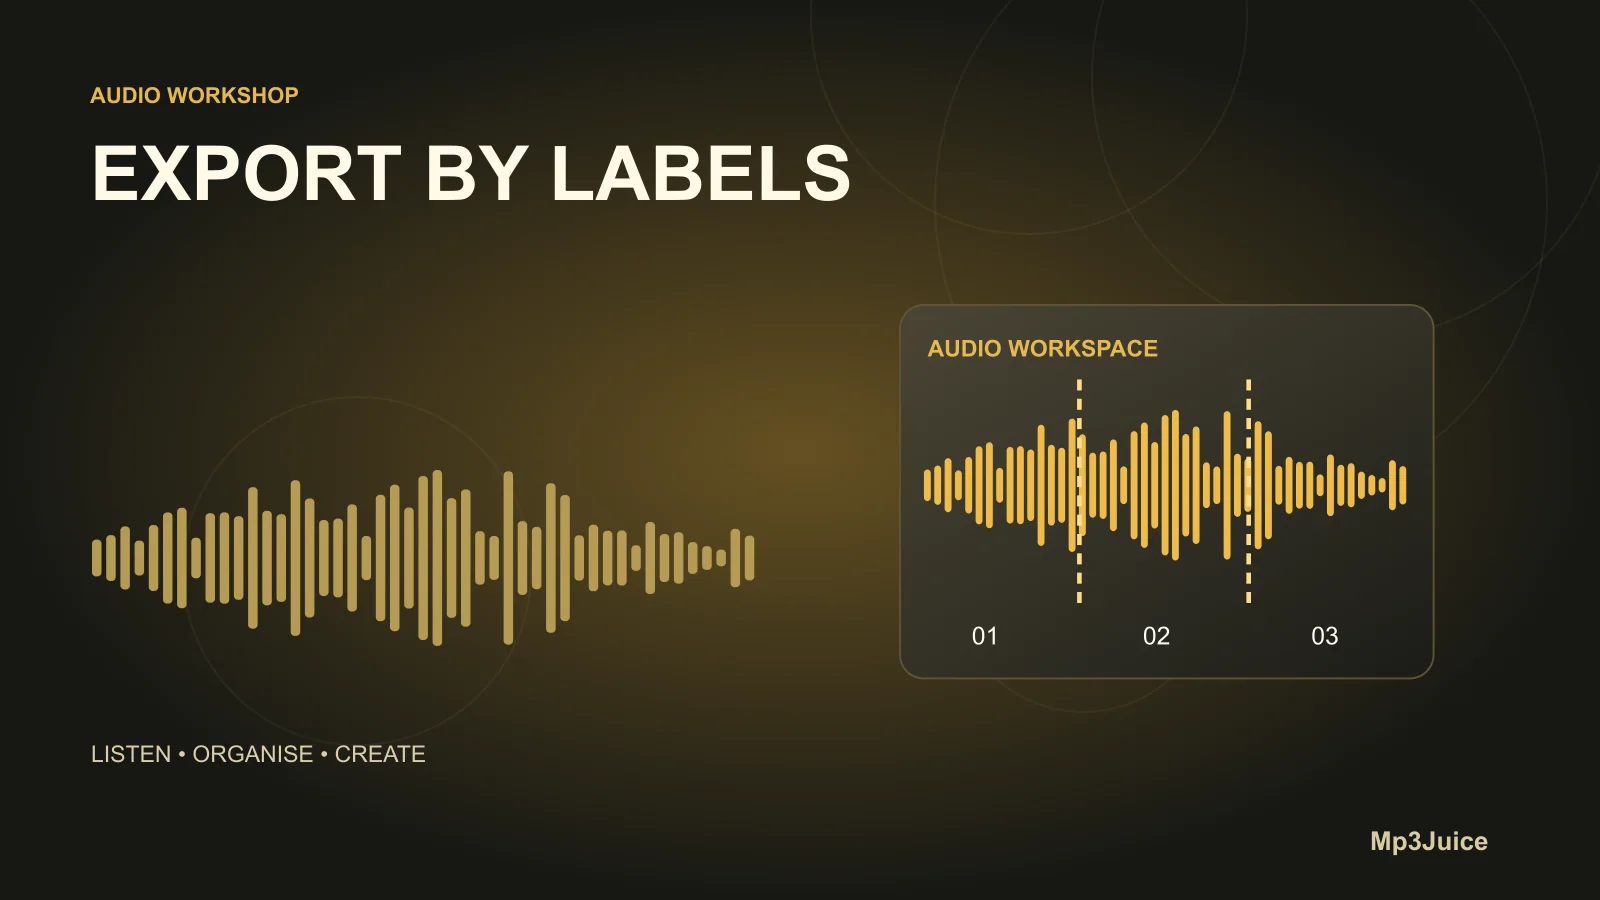
Audacity 3 enables users to export individual songs or sections from a long audio project as separate files using label tracks. This feature supports workflows such as breaking up albums or live sets, providing control over what audio is included in each export, how files are named, and the order of exports. Audacity’s “Export Multiple” tool is designed for batch-processing efficiency while reducing the chance of human error in manual export tasks.
Prepare your project
Begin by opening your Audacity project. Verify the audio tracks contain the material you wish to export, and ensure there is one label track placed above all audio tracks you will process. Audacity only refers to the uppermost label track for file splitting. Use point labels to mark the start of each section, or region labels to define precise spans to export. Mixed point and region labels are supported, but careful placement avoids accidental null exports. Sections from muted audio tracks will be excluded in the export process.
Export options and how Audacity splits files
In Audacity 3, the expanded Export Audio dialog gives the following controls for exporting multiple files:
- Split files based on: Select Labels to use the uppermost label track, or Tracks to split based on audio track names (ignoring labels).
- Include audio before first label: If the label track does not start at zero, this option lets you save the segment before the first label as a separate file. Provide a custom name for this file in the “First file name” field.
- Naming conventions: Choose from “Using Label/Track name,” “Numbering before Label/Track Name,” or “Numbering after File Name Prefix.” Label-based naming is most common for songs or sections; numbering is useful when file order matters, such as for audio CDs.
- Edit Metadata: Adjust tags for all exported files. Be aware that in Audacity 3, user-supplied metadata applies fully only to the first exported file; subsequent files receive default tags unless the metadata editor is set beforehand.
- Overwrite existing files: If left unchecked, Audacity prevents overwriting by appending numeric suffixes to duplicate names. If checked, pre-existing files will be replaced—except files exported in the same batch with identical names, which still get suffixes for uniqueness.
Selections within waveforms do not affect export boundaries; Audacity follows labels only. Muted tracks are omitted, and playback previews in Audacity can help you validate audio boundaries before exporting.
Marking song sections and checking label boundaries
- Zoom in around intended song or section boundaries. Insert point or region labels at each start or around each area to export.
- Solo or mute tracks as needed—only non-muted, non-grayed audio will be included for export. If extra tracks are present but unmuted, sources are mixed together in the exported files.
- Use Audacity’s playback controls to review audio boundaries: play from a label start to just before the next label, ensuring label accuracy and no missed or duplicated content.
- If you need to export content before the first label, choose to either add a region label covering that span or activate the “Include audio before first label” option during export and provide a starting file name.
Export Multiple: practical workflow in Audacity 3
- Save your project first to avoid accidental loss. For complex or long projects, consider performing a short export test.
- Go to File > Export Audio or press Ctrl+Shift+E to open the export dialog.
- Set your desired export folder, file format (e.g., WAV, MP3), and audio options as needed.
- Under “Split files based on,” choose Labels to break up audio based on marked points/regions in your label track.
- If required, check “Include audio before first label” and assign a "First file name" to export the opening segment prior to your first label.
- Select a naming method: match labels, add numbering before labels, or use a custom prefix and number. Confirm label text is set to prevent "untitled" file names.
- Optionally, click Edit Metadata to set tags. Due to limitations, set default metadata ahead or verify after export if you need tags on all files.
- Decide whether to enable “Overwrite existing files.” Unchecked is safer—Audacity will avoid accidentally overwriting prior exports.
- Click Export. Monitor progress; you can Stop (finish current file, then continue) or Cancel (abort and remove current partial file).
Verify results and validate exported files
- Upon completion, Audacity presents a result window listing all exported files. Click OK.
- In your file manager, count the files in the export location. There should be as many files as you have intended labels-plus-one if including pre-label audio.
- Play back at least the first and last exported files to check that the splits were performed where needed. If boundaries are imprecise, adjust labels and repeat a short export test.
File naming and troubleshooting tips
- If a label is blank, Audacity exports the file as "untitled" with sequential numbering. For meaningful file names, fill in all label texts.
- With custom FFmpeg exports, Audacity does not append file extensions automatically. Manually add extensions in label text or batch-rename later as needed.
- Duplicate labels produce duplicate file names. If the “Overwrite” box is not checked, numeric suffixes are appended to make file names unique.
Example workflow
Suppose you have a 45-minute live set with point labels at 3:10 ("Song A"), 7:55 ("Song B"), and later but none at 0:00. If you want to export the opening minute separately, choose Labels during Export, check "Include audio before first label," type “Opening-Intro” for the first file, and select numbering before label names. Exported files become “00-Opening-Intro.mp3,” “01-Song A.mp3,” “02-Song B.mp3,” and so forth. After export, confirm file count and audio boundaries for each file.
For large projects, start by exporting a small group of labeled sections to verify naming accuracy and boundaries. For advice on saving a backup before exporting, see Save an Editable Audacity Project Before Exporting. If building a catalog, see Export a Music Inventory from Mp3tag for post-export organization.
To summarize, export labeled sections by opening your project, marking boundaries with labels, choosing Export Audio with “Labels” and “Include audio before first label” as needed, and reviewing the exported files for correctness.